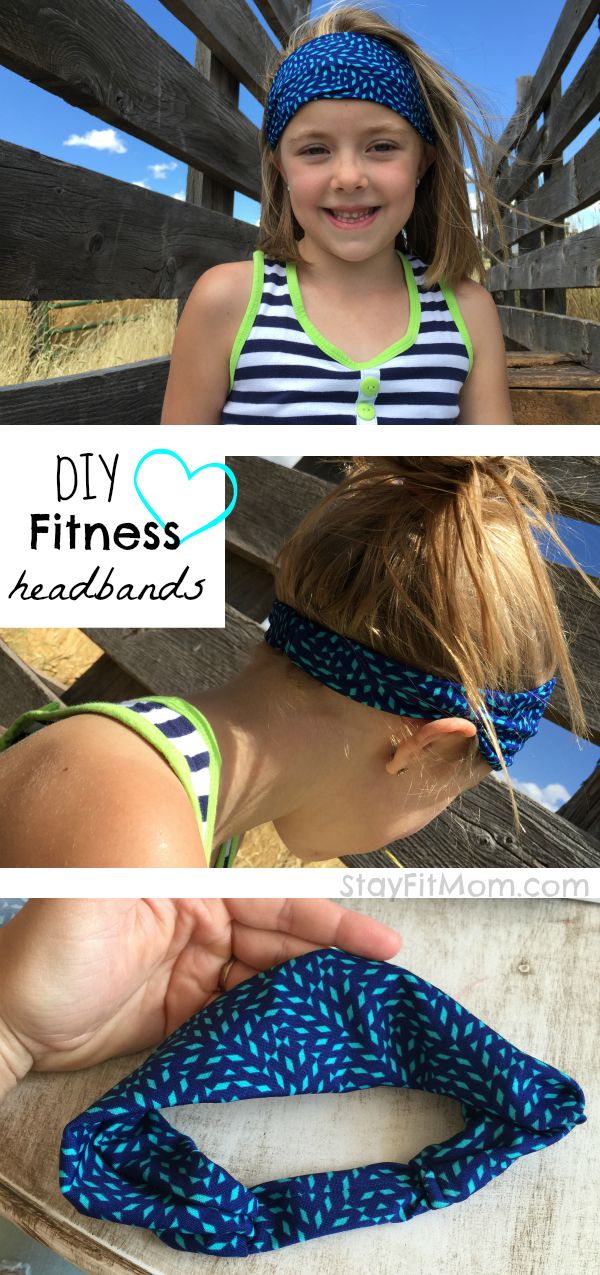
DIY Fitness Headband Tutorial
on Jul 31, 2015, Updated Sep 22, 2019
This post may contain affiliate links. Please see our disclosure policy for more details.
I don’t know about you, but I wear a fitness headband just about everyday. I have been wanting to make my own for a long time and I finally have! Not only are these DIY fitness headbands super cute, but they are stretchy and stay on your head! I’m no professional sewer, but I did a lot of trial and error and came up with a pretty great pattern! I’m pretty proud of myself to say the least.
 When I spent two weeks in Utah earlier this month I had some spare time on my hands and my super crafty mom and older sister nearby to assist if needed. My mom and sister can sew just about anything. I on the other hand have only made baby blankets, burp cloths, an apron, and a hooder hider. My point is, these are easy DIY fitness headbands anyone can make! I will show you step by step how you can make lots too!
DIY Fitness Headband Tutorial
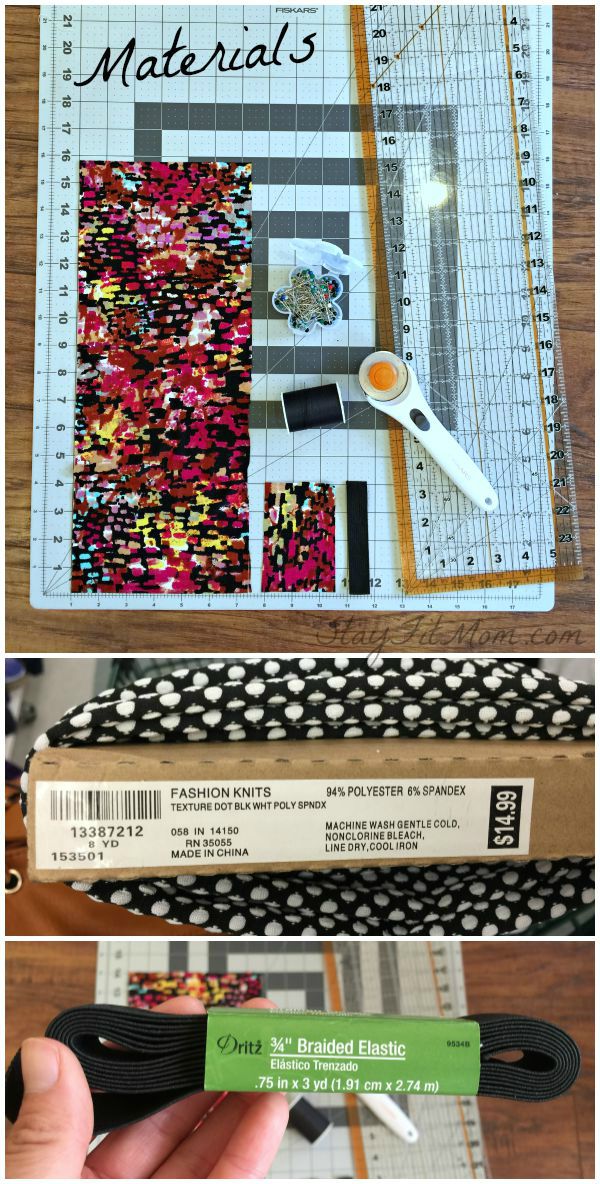
Materials Needed:
- 2 Pieces of fabric: 1 Piece 16″ X 6″, another 4″ X 2.5″ (Any knit fabric works, but I like the polyester/spandex material pictured below best. All you need to purchase is 6″ and you can make up to 3 headbands!)
- 1 Piece of 3/4″ Braided Elastic cut 4″ long
- Matching Thread
- Pins
- Scissors or Cutting Board
I purchased all my materials from Joann Fabric and Craft Store. I always use their coupon app, email coupons, and newspaper coupons. If you ever go to Joann’s without coupons you’re just being plain silly. I added up my costs on these headbands and they came out to just around $1 each! Say what!?
Fold both pieces of fabric right sides together and sew a 1/4″ seam as pictured below.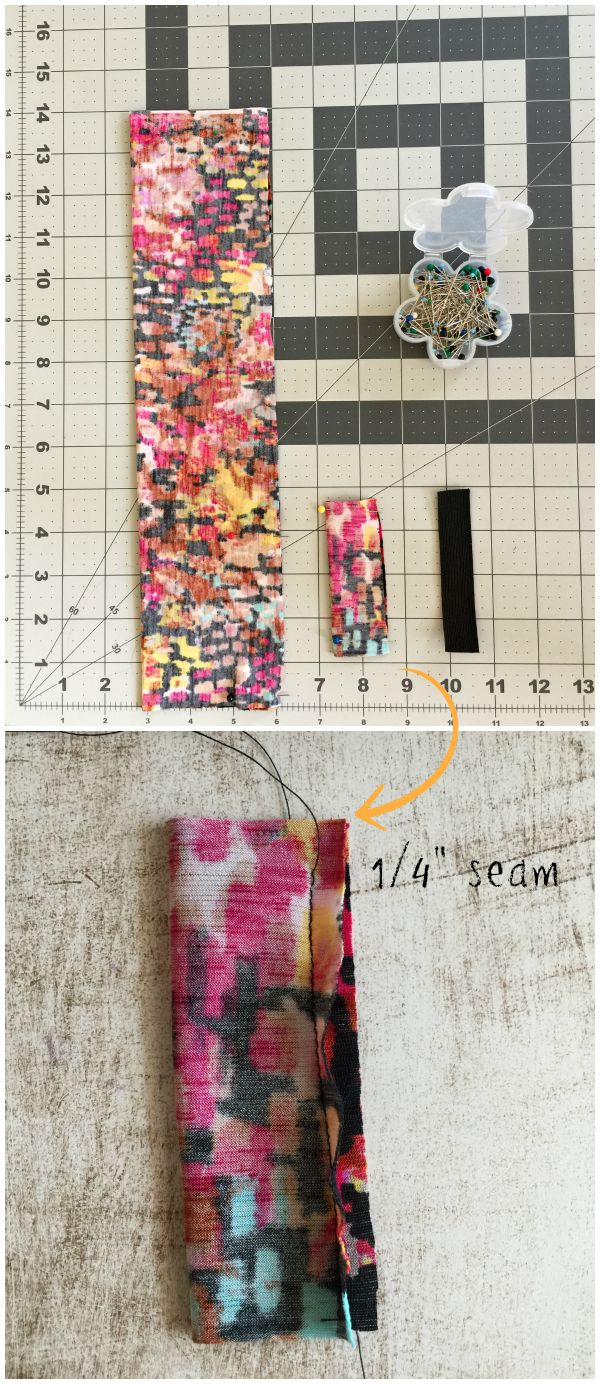
Now turn your small piece right side out and put elastic inside. You want the seam down the middle and sew both ends so it stays in place.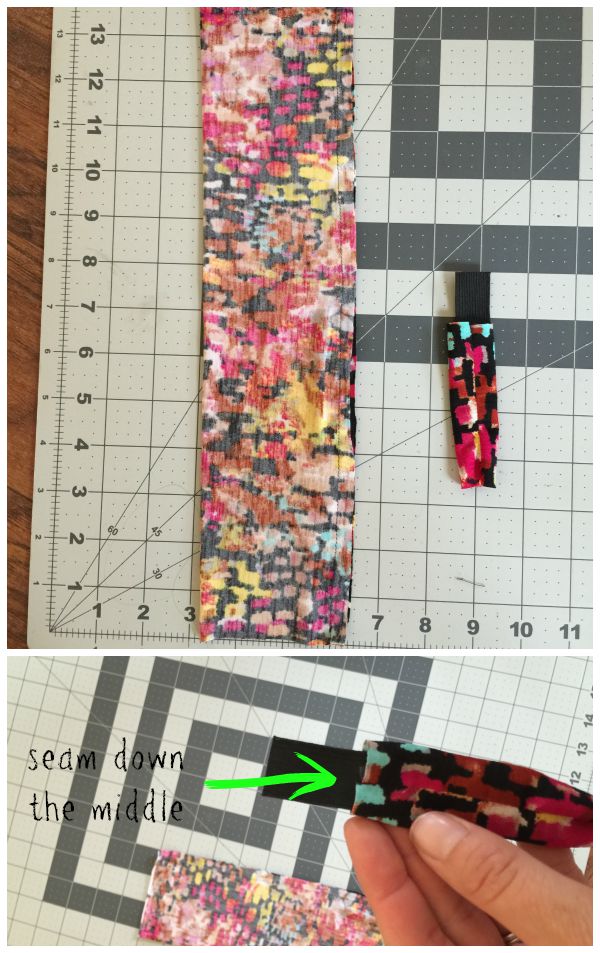 Now center your elastic piece inside the large piece of fabric.
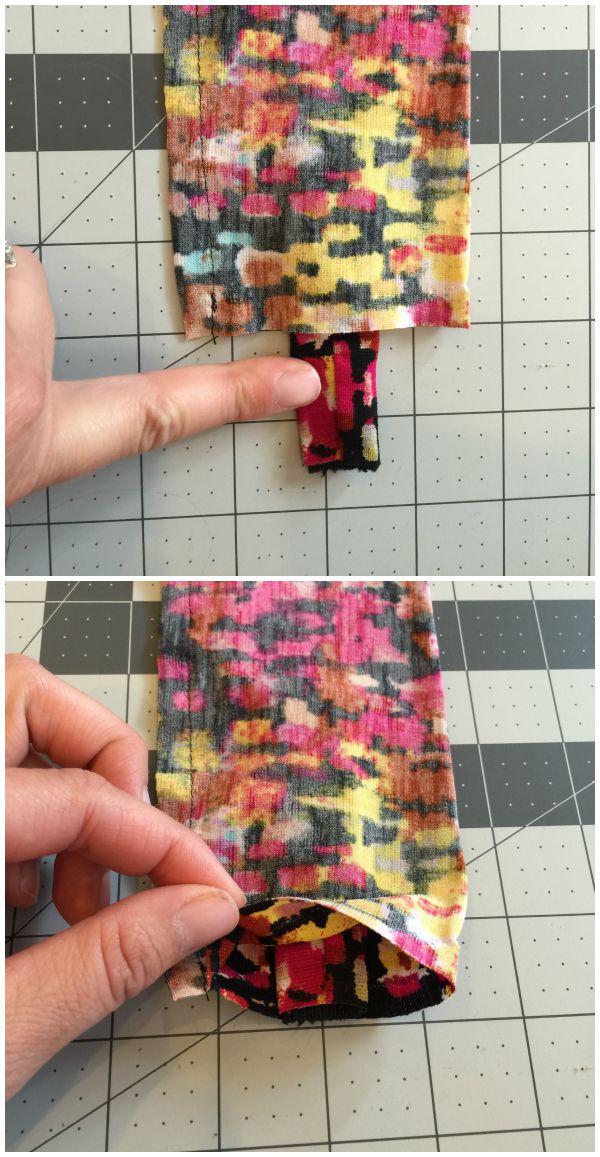
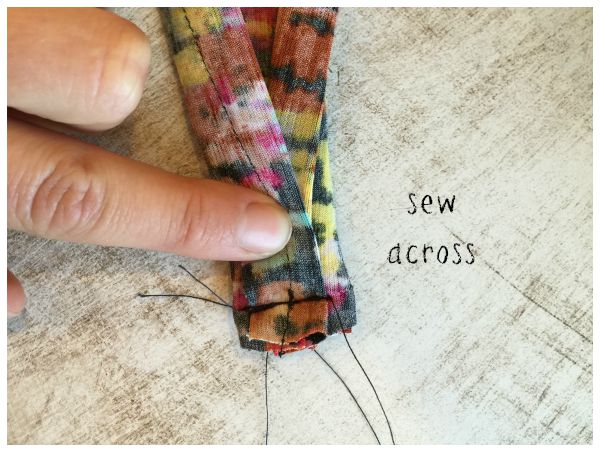
Fold both ends in and pin so it is secure and won’t move when sewing.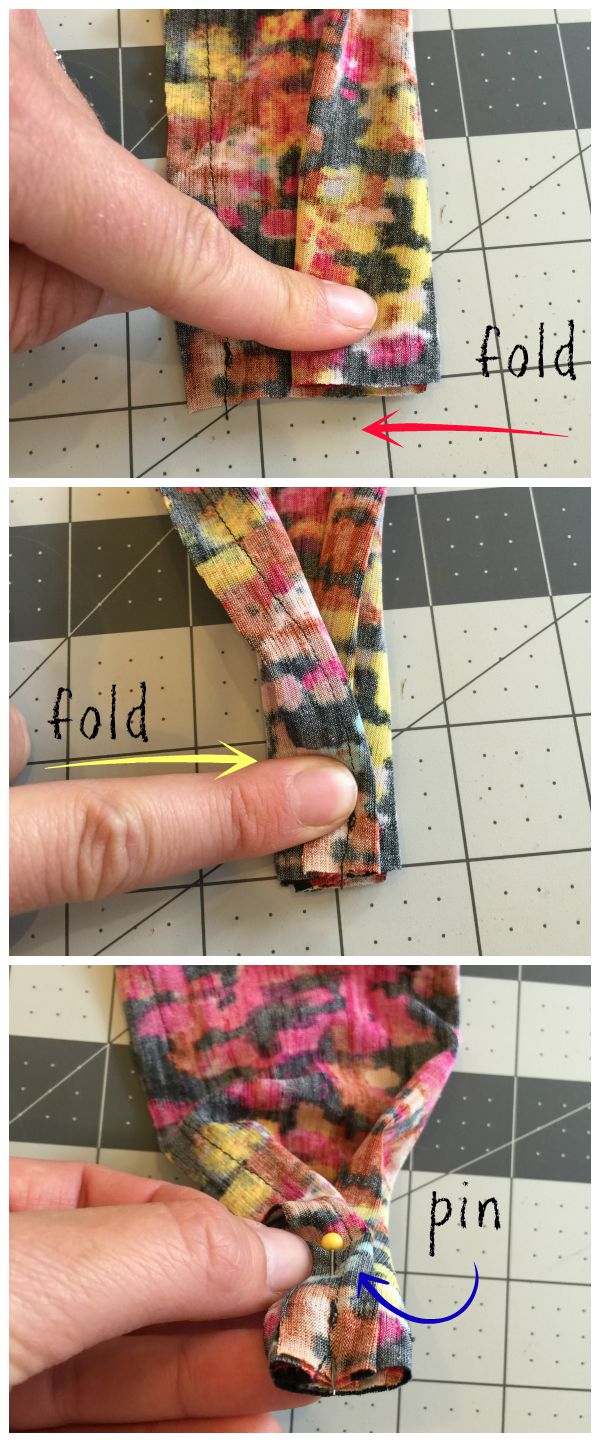 Now sew back and forth all the way across.
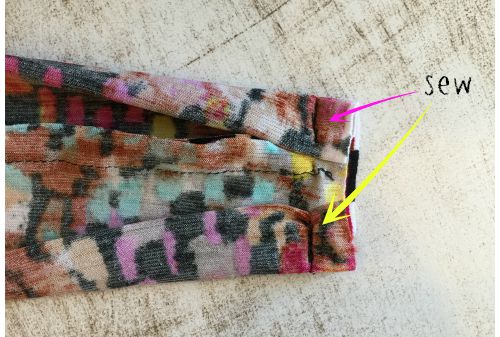
 On opposite side you will fold each side in and pin leaving a small opening to pull fabric back through.
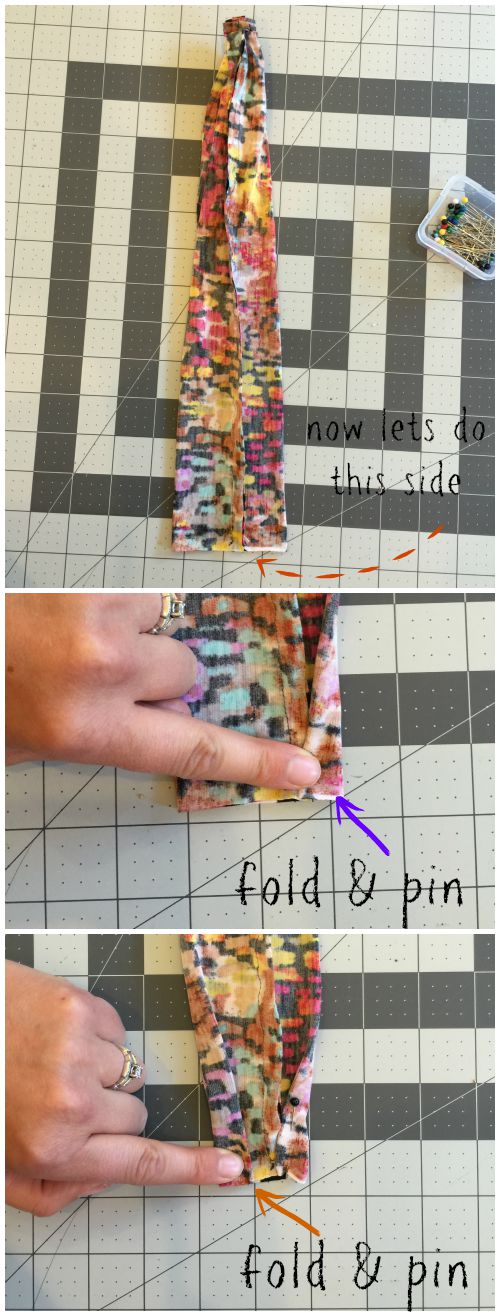 Now you need to sew back and forth on each small fold and leave that small opening in the middle.
 Now pull your fabric through that opening so the headband is right side out.
 Now you will put your elastic piece into that small opening, fold sides in tight, and sew together!
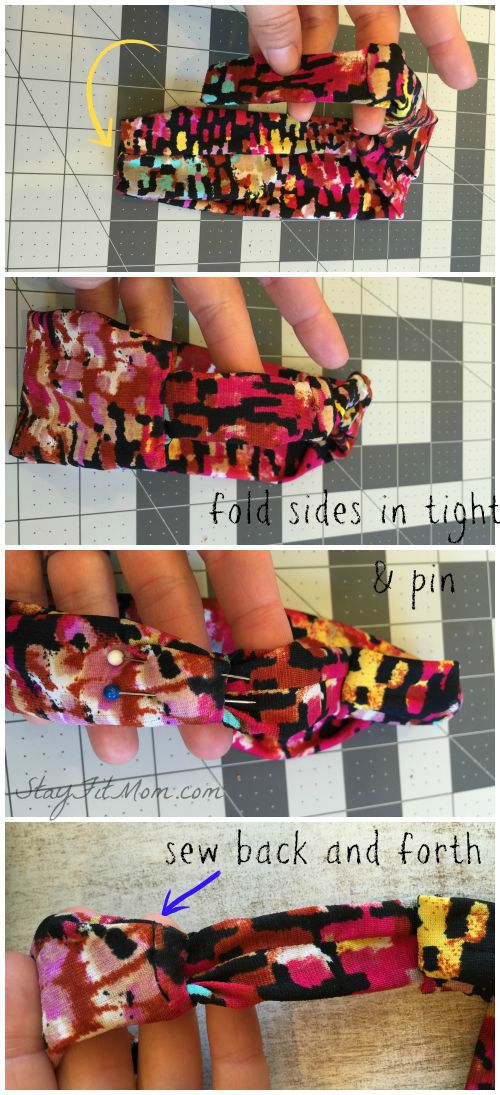
That’s it! You’re finished! I made a 16″ one for me and a matching 14″ one for my cute niece. You can always measure to make sure you will have the right fit before you sew the last pieces together.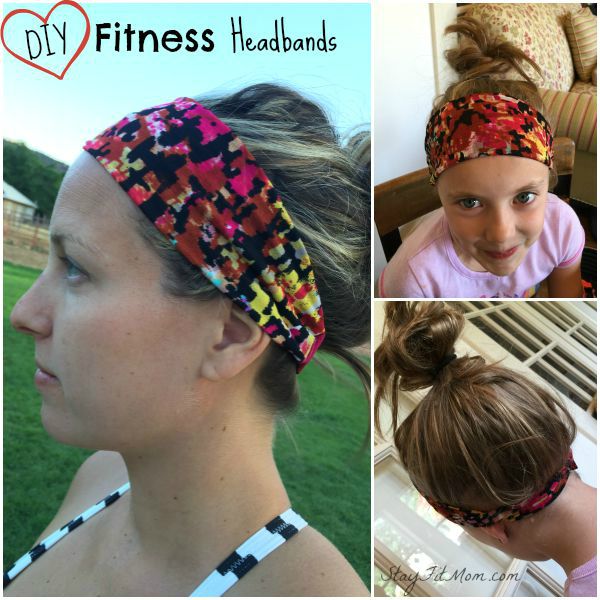 I made lots with different patterns and had my nieces model them.
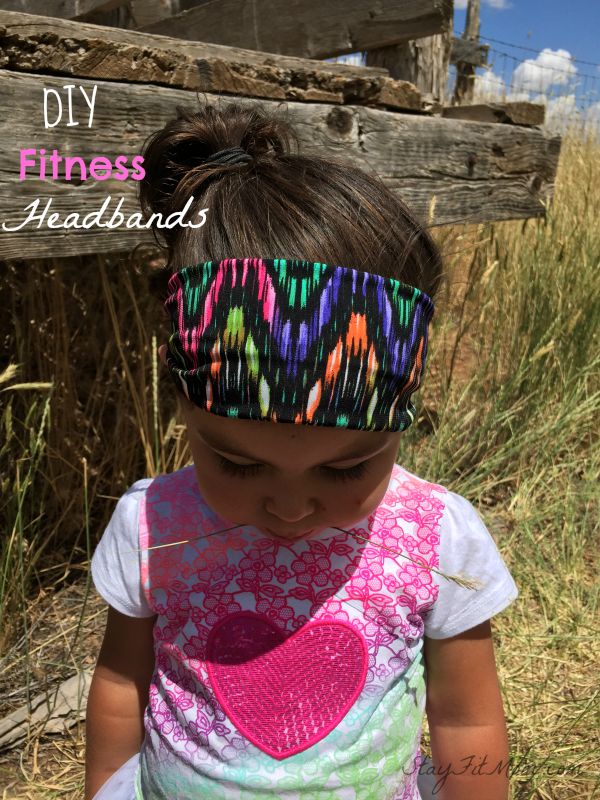

Pin this for later!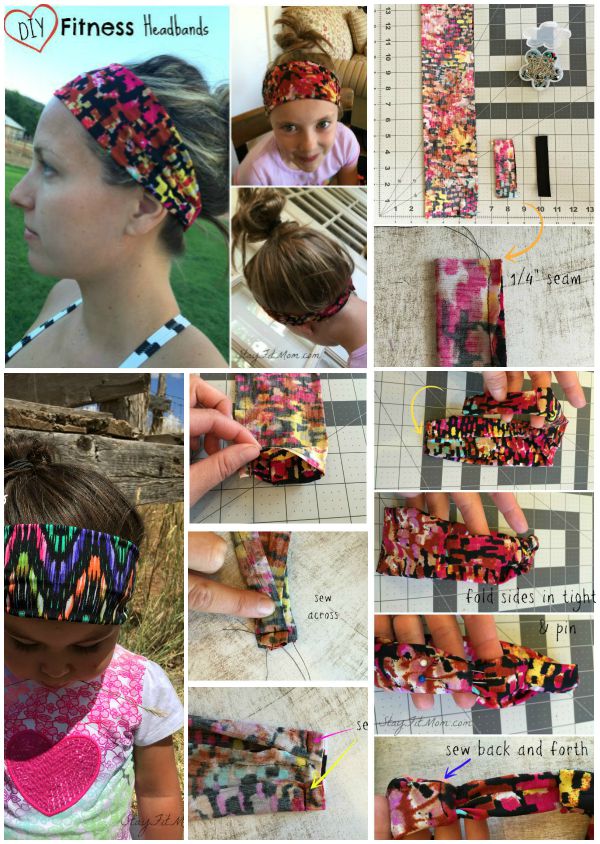 If you make these DIY Fitness Headbands take a pic and tag us @stayfitmom_Krista and @stayfitmom_tracy on Instagram so we can see! Or you can show us on on our Facebook Page!!
If you have any questions or need any help comment below and we will answer your questions asap!
If you’re a DIY-er, you might also like our DIY Parallette Tutorial!


Could this be made without the elastic piece, by folding or accordionig the body of the headband?